Click on each hole below for a detailed flyover of each hole
|
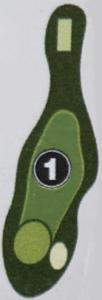
Hole 1
|
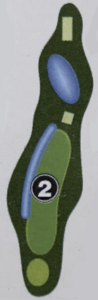
Hole 2
|
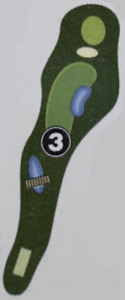
Hole 3
|
|
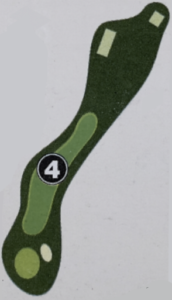
Hole 4
|
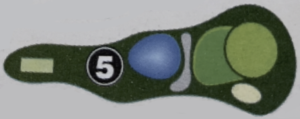
Hole 5
|
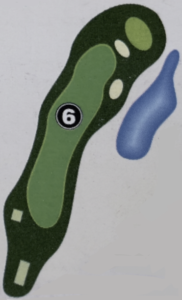
Hole 6
|
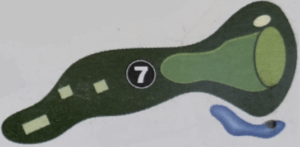
| Hole 7
|
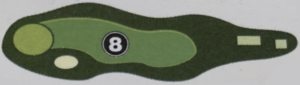
Hole 8
|
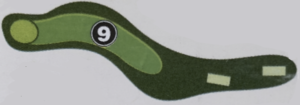
Hole 9
|

at Salish Kootenai College
Click on each hole below for a detailed flyover of each hole
|
Hole 1
|
Hole 2
|
Hole 3
|
|
Hole 4
|
Hole 5
|
Hole 6
|
| Hole 7
|
Hole 8
|
Hole 9
|